Got more free time to try some party tricks? For a lot of them, you don’t need to have special equipment. The DIY world has an answer and a solution to everything so that you don’t have to go outside and can do everything from the comfort of your living room. Also, it’s fun to make something like this yourself, isn’t it?
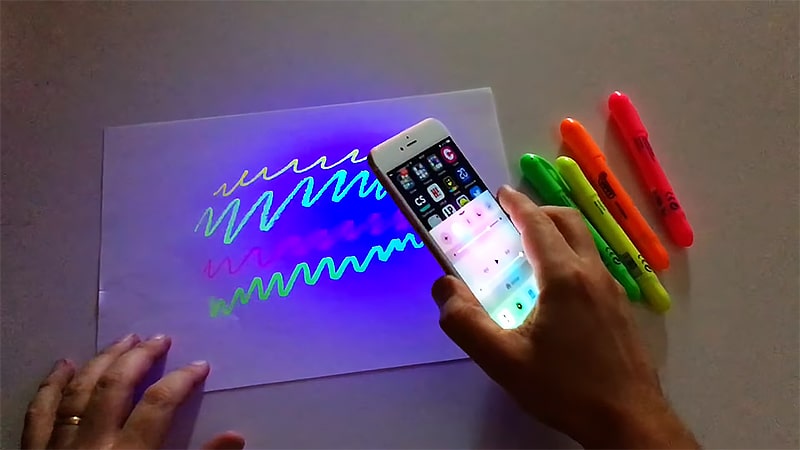
We’ve got a lot of requests for black lights – a popular club and home party decoration that makes some colors glow that is otherwise non-visible to our eyes. How do they work? And how to make it at home using only a flashlight and a couple more things? We’ll show you several ways here. Make sure you have some clothes or other things that will actually glow as a result.
Let’s get prepared for parties to come later when we’re allowed to hang out again, shall we?
How Come Things Glow Under Black Light and What You Need to Create One
First of all, how comes things glow in such a lighting? The key here is phosphor such colors contain, for example white or neon of any tone. UV light converts into visible when shining on a phosphor-containing object. There’s a lot of science behind the process, but we won’t focus on it here because we don’t need it to create an actual light.
Now, to the ingredients of this party bomb. We’ll present two tutorials here: one with a flashlight or a phone flash and one with a light bulb. Therefore, there will be two similar sets of sections.
To make a black light the first, easier way, you will need:
- A source of light. Get a flashlight as the base of your light. If you don’t have any, a smartphone or tablet with LED flash will work as well.
- Cellophane or tape. It’s better if you have purple and blue pieces of cellophane or tape to work with. If not, it’s OK to take transparent pieces and paint them.
- A marker. A blue and purple marker can be used if you have a transparent piece. Remember that you can create a purple color with a blue and red marker.
- Especially if you’re working with a flash, you’ll need a pair of scissors to remove all the redundant cellophane.
- Rubber bands. These are for the flashlight option. Any band will be fine but rubber ones aren’t that visible yet quite easy to work with.
- Something to test your black light on. The easiest option is a plain black light poster. You can also use a white paper and any highlighter.
How to Make a Black Light with a Flash/Flashlight: A Step-By-Step
If you have everything for this tutorial, the actual process will take about 10 minutes, even if you have to paint the cellophane.
Step 1: Choose Your Source of Light

First of all, determine what you have for a black light. A regular flashlight is the best option, in our opinion. It’s bright, easy to hold, and portable. Besides, you may want to take some pictures of the result on your phone.
Step 2: Cut Cellophane and Paint It If Needed
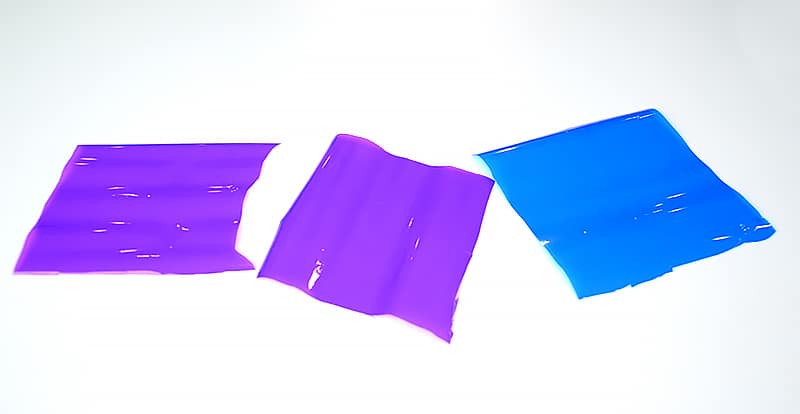
Cut two pieces of blue and one piece of purple cellophane. Don’t make them too tiny, you have to block all light coming out of the flash/flashlight. If using a phone, it’s much easier to put tape on it or secure cellophane with a clear tape. With a flashlight, it’s better to cut much wider pieces because you’ll have to secure them later.
Step 3: Apply and Secure Cellophane
Apply cellophane/tape pieces in the following order:
- Blue;
- Blue;
- Purple.
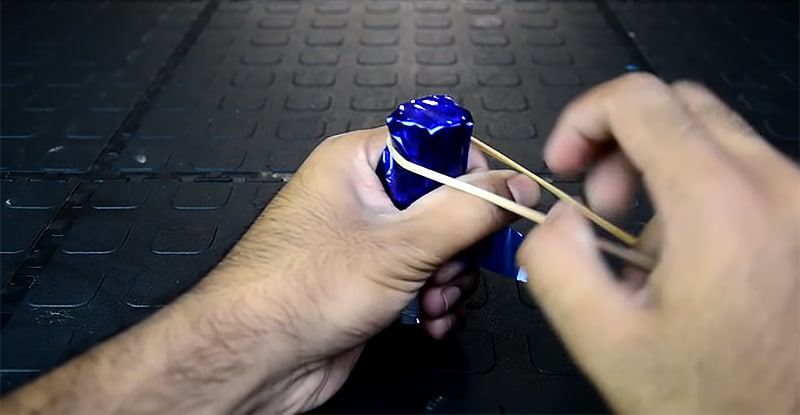
Make sure there are no clear areas on your light source. For a flashlight, it’s very convenient to just put a rubber band around the cellophane to secure it. That’s also why it’s important to have enough material on the sides of the light.
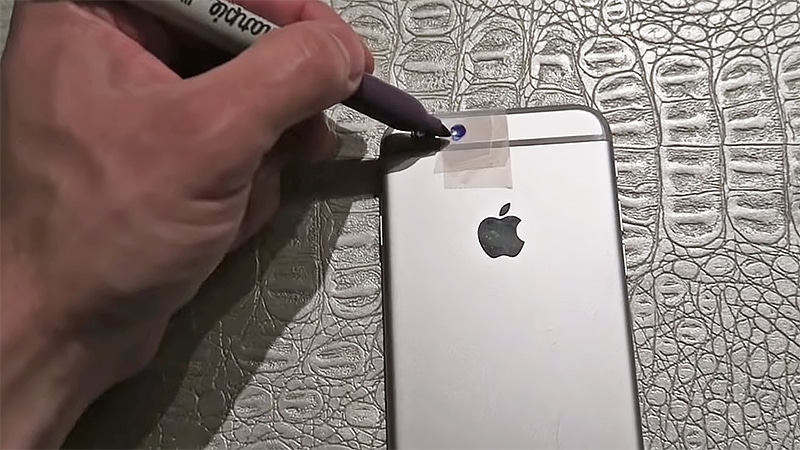
For a phone or tablet, it’s better to secure with tape or even apply tape in the first place, painting every layer in blue or purple.
Securing materials with a rubber band in this case wouldn’t be practical. Also, after you paint with a marker, don’t touch the piece right ahead – if it’s not dry, you’ll get all the color on your fingers instead of the tape.
Step 4: Test Your Light
Take something to test your light on. It can be a black light poster or just a piece of paper painted black. Put some highlighter on it or extract fluorescent liquid. It’s very easy to do: just put your highlighter in a container with rubbing alcohol. You can take the inner piece out or just dip the marker in.

If you don’t have a possibility to make a black poster, it’s fine. Just turn off the lights and shine your black light on the container with fluorescein (your highlighter and alcohol solution). You can dip your fingers there and put prints all over the place. It will look amazing when the lights go off.
Also, remember that while going to a party with such lights is fine, being exposed to a UV light for a long time may bring hard to your health.
Things You Need to Make a Black Light with a Light Bulb
A slightly more difficult way to create a black light is using a:
- Light bulb. Opt for something that doesn’t emit a lot of heat. LED bulbs will fit perfectly since they have a low heat output and are cost-saving.
- Glass cleaner and a soft cloth. Get the glass cleaner you use for windows and mirrors at home. If you don’t have any, it’s fine to use any cleaner or alcohol. You’ll also need a soft cloth to prepare the bulb.
- UV paint and paintbrush. This one you’ll have to buy for this tutorial to work. Markers won’t give such an effect, as well as cellophane – it may heat and burn pretty quickly. UV paint is usually black, but you can ask for one in another color.
- Lamp stabilizer. It can be a string you can secure it on or a ball of clay. Use anything that will hold the bulb straight while you paint it.
How to Make a Black Light with a Light Bulb: A Step-By-Step
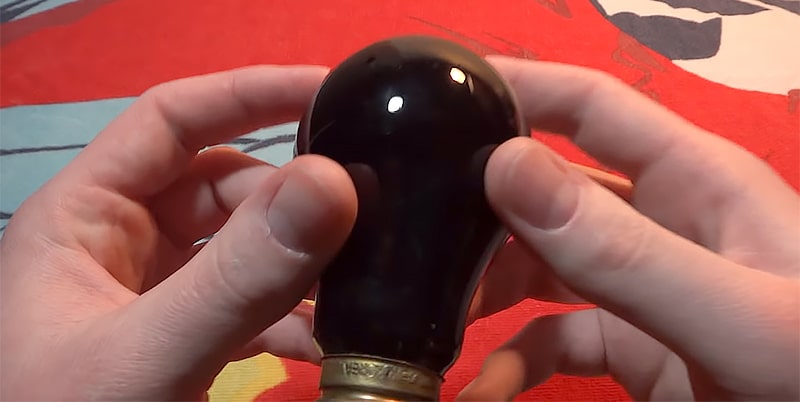
This process will take a bit more time but also give a more professional result.
Step 1: Clean Your Bulb
It’s important to clean the bulb before using it. Any oil or dust left on it may prevent the UV paint from sticking. Rub it thoroughly and let dry completely. Try not to get any liquid on the base to avoid damage.
Step 2: Stabilize Your Bulb
There are several ways to stabilize a lamp:
- Put it on a string you can hold;
- Put it in a ball of clay;
- Create a paper holder for the base, etc.
Step 3: Paint Your Bulb
After the bulb dries completely, apply two coats of a UV paint of your choice. Make sure the first coat dries before applying the second one. The best option is to let your first coat sit for several hours. We let it sit overnight and the result was great.
There’s no need to let another coat dry for many hours, just make sure it’s not “raw” when you start using your black light.
Step 4: Put It in a Light Fixture

Once everything’s ready, put your light bulb in the fixture and test it. Wait until the evening for the best effect. Take out your white or neon clothes, find some highlighters and draw posters. Extract fluorescein from those highlighters and paint your walls. If you have a special black light kit with paint, use it for a better result!
Conclusion
Staying at home doesn’t have to be boring. Who doesn’t enjoy stuff that glows in the dark? Considering how easy it is to create such a magical atmosphere, we thought such a simple 4-step tutorial would be useful these days. How did you like it? Let us know in the comments and share your own results!
Share this article if you find it useful, and make sure to try this out. Gather your kids to help or just make a holiday for yourself!


What cld u use instead of uv paint on a LED light bulb? The ECOSMART LED BULBS 9W 840 LUMENS 120V TO BE EXACT… HELP ME LOL… sobrietyisgreat13@gmail.com
I’ve seen people using nail polish before for this purpose too but don’t quote me on that since I haven’t tried it myself.